To whitewash a brick wall, first clean it with a wire brush and rinse thoroughly. Let it dry, then protect nearby areas with sheets and tape. Mix equal parts latex paint and water, stir well, and apply using a roller or brush for a soft, smooth finish.
What Is Whitewashing Brick?
Whitewashing brick is a simple, concise method that enhances the natural texture of walls, offering a timeless look that displays the raw beauty of a surface. Known for its famous appeal around the world, this technique adds a distinctive, great finish without overpowering the material.
To create the same effect, a mix of paint and water is used in a short, easy process that doesn’t consume much time. Unlike other products, it is durable, accessible for those with non-expertise, and simple to perform, making it ideal for both modern and traditional homes.
More Topics:
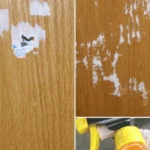
How to Remove Sticker Residue from Almost Any Surface
25 Best Walk In Shower Designs That Fit Every Type of Washroom
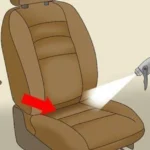
How to clean a leather couch or Restore sofa or chair
Is Whitewashing Brick a Good Idea?
Whitewashing offers a timeless solution to transform existing brick surfaces without the need for full remodeling or costly renovating. It fits both interior and exterior spaces, adding aesthetic appeal and enhancing breathability—ideal for homes looking to feel more open and fresh.
This cost-effective method works well for DIY projects, especially when homeowners carefully assess the conditions, needs, and specific surface considerations. With minimal maintenance and strong durability, it’s an easy way to elevate the look of fixtures and update any space while adapting to varying styles in modern living.
What Kind of Paint Do You Use to Whitewash Brick?
To whitewash brick effectively, the most trusted option is a paint specifically formulated for porous surfaces like wood, concrete, and stone. Brands like Giani offer reliable kits that include all necessary supplies for a smooth project, while Krylon provides indoor-friendly, premixed alternatives made for easy use. For those who prefer to create their own mixture, diluting white latex paint with water is a common and lighter approach that allows more control over the finish.
How Do You Whitewash Brick?
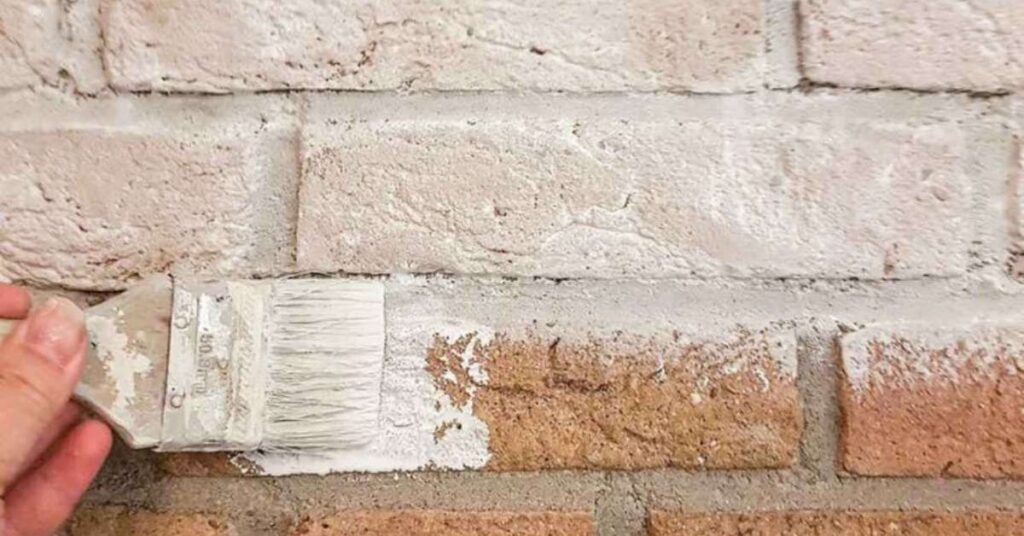
To whitewash brick, start by applying a thinned-out white paint mixture and wiping off the excess before it can soak into the porous surface. This method helps you achieve a more transparent finish, maintaining a natural tone of the material instead of a heavy painting coat. It’s a simple way to get a light, rustic look that enhances the brick’s aesthetic without overwhelming its natural charm.
01 | Gather Supplies for Whitewashing Brick
When gathering your supplies, it’s important to consider whether you’ll be using a premixed whitewash or creating your own. Your supplies might vary slightly depending on this choice, and if your brick requires extra cleaning care, you may need additional tools or products (refer to step 2). Make sure to have everything prepared to get the job done efficiently and effectively.
- Liquid dish soap
- Mixing container
- Lint-free wiping rags (the bigger the area, the more rags you’ll need)
- Bucket
- Vacuum or broom
- Painter’s tape
- Whitewash paint
- Sandpaper
- Toothbrush
- Protective tarp or drop cloth
- Water
- Stir stick
- Hard bristle brush
- Paint brush
02 | Clean Your Brick
Before starting your makeover, ensure that your bricks are properly cleaned. Begin by using sandpaper to scrape away any loose rust or paint. For areas with debris or ash, such as around a fireplace, use a vacuum cleaner with an extension wand to clear the surface. Once the area is clean, mix dish soap with warm water in a bucket, then use a scrub brush to thoroughly clean the bricks.
For a thorough clean, always start with the mildest method — dish soap and water. If the bricks are still not clean, use a stronger cleaner, but make sure to protect your hands with gloves and eyes with goggles to avoid splash back. When using a spray bottle to wet the bricks, it helps prevent the cleaning solution from seeping into the porous surface, which can cause discoloring. After cleaning, rinse the bricks with warm water and let them dry completely.
Here are more techniques, organized by their increasing intensity:
Vinegar: To clean your brick wall, mix equal amounts of vinegar and water in a spray bottle. Spray the solution onto the brick and let it sit for a few minutes. Afterward, use a masonry sponge to gently scrub the surface, followed by a toothbrush to work the solution into the grout. To neutralize the vinegar, rinse the area with a warm water solution, and finish by giving it a final rinse with just warm water.
Foaming bathroom cleaner: To ensure you don’t damage the brick, always test the cleaner on a small portion first. Wet the brick with water, then apply the cleaner and let it sit for minutes to allow the solution to penetrate and break down the grime. After this, use a bristle brush to scrub the surface gently and rinse it with warm water for a thorough clean.
Trisodium phosphate: For the strongest cleaning method on indoor brick (though it can also be used on exterior brick), you should use trisodium phosphate (TSP). Start by ensuring your workspace is well ventilated, and consider using a drop cloth to catch any stray drips. Mix one gallon of water with one-eighth cup of TSP in a bucket. Wet the brick and carefully apply the TSP solution. Use a bristle brush to scrub the surface, then finish by rinsing the brick with warm water to remove any leftover solution.
03 |Tape around your workspace
Before starting a whitewashing project, it is important to protect all surrounding areas near the brick surface. A drop cloth should be spread below the workspace to shield the floors, and surrounding walls, the mantel, and areas around the fireplace should be properly covered or taped off. Whitewashing the inside of the fireplace is not recommended due to exposure to heat and soot.
04 | Prepare the whitewash
A one-to-one or two-to-one ratio of paint to water affects how opaque or lighter the whitewash will appear. Add paint first in a container, then pour water afterward for proper mixing. Stir well until the consistency is even and soupy.
05 | Apply your first coat
When starting to whitewash brick, apply the first coat to a small area of about four to six bricks. This helps you focus on getting the desired look and adjusting the dilution level if needed. Once you’re satisfied, move on to tackling more small sections and adding additional bricks to ensure a consistent whitewashed look throughout.
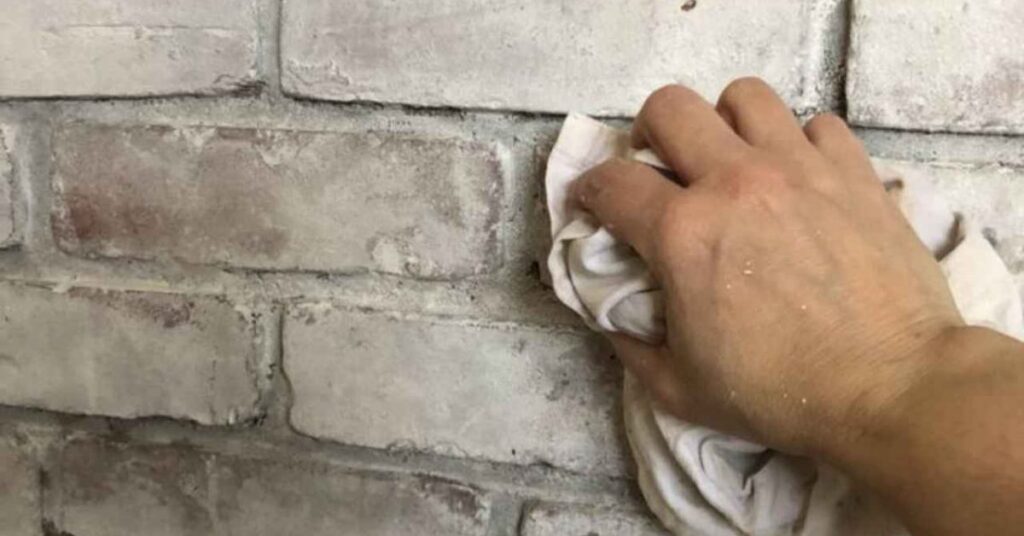
06 | Wipe excess whitewash
Grab a clean rag and wipe the coated area to let some of the brick’s original color show through. Allow the product to penetrate for no longer than three minutes, then begin wiping off any excess paint. For best results, don’t use a saturated rag; instead, grab a new rag as needed. To blend any uneven color, rewet the surface with more product and lightly rub it in.
07 | Apply additional coats
Allow the first coat to dry for two hours. If you’re worried that it’s too opaque initially, don’t worry—more brick will show through as the whitewash settles. After two hours, if you want more coverage, you can apply an additional coat and repeat the steps above.
08 | Maintain your whitewashed brick
After two hours of application, you can start using your whitewashed fireplace, but remember the full cure time lasts for 14 days. During this period, avoid scrubbing the surface. Once the curing is done, clean the brick only with mild dish soap and water, as harsh abrasive cleaners can impact the durability of the whitewash.
How long will whitewash brick last?
The durability of whitewashing on brick depends on factors like preparation, application, and the exposure to weather conditions. Over time, the natural brick color may become more pronounced. Periodic touch-ups or reapplications may be necessary to maintain the desired appearance.
The penetrative stain provides a permanent finish, but the variety of brick influences its longevity. Brick Transformations can last over time, but the coating may require additional care. With proper maintenance, the whitewashed finish will remain intact, ensuring long-lasting results.
Mistakes to Avoid When Whitewashing Brick
Avoid skipping the cleaning process before starting. If you apply whitewash over dirt or dust, it can lead to an uneven, patchy look. Always ensure the surface is thoroughly cleaned before applying the whitewash for a smoother finish.
Don’t risk over-diluting the paint. Using too much water can cause a translucent look, requiring you to add additional coats for adequate coverage. Always test a small section first to see how the mixture appears.
Applying uneven coats can result in a patchy and inconsistent finish. Avoid brushing too much paint on certain bricks while leaving others lightly coated. Focus on smooth and even strokes for a consistent look.
Before you go all-in, always test the whitewash mixture on a small, inconspicuous area. This allows you to confirm the opacity and color before applying it to the entire wall.
What Is Lime Washing?
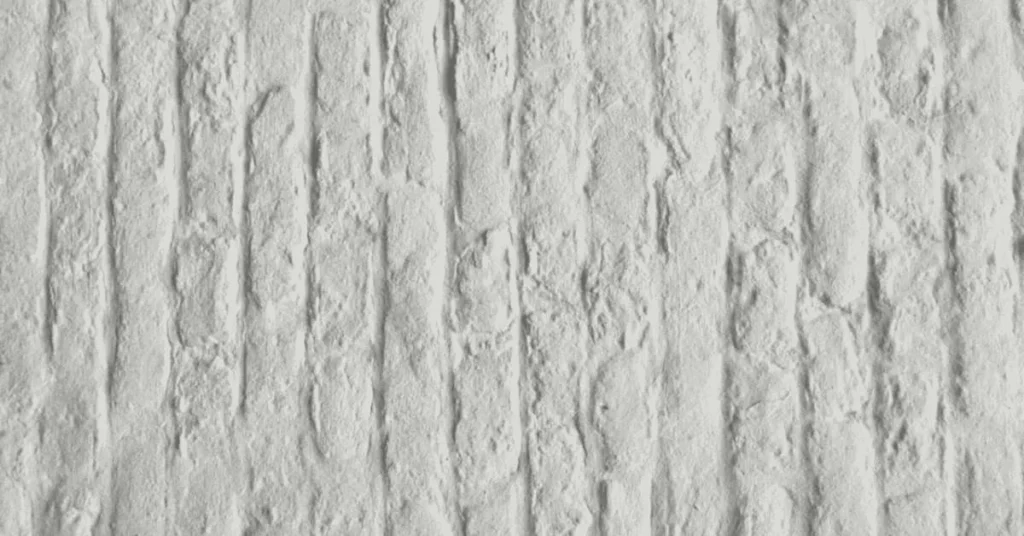
Lime washing is a centuries-old technique where a mixture of lime, water, and pigment is applied to brick surfaces, creating a breathable and durable finish. When used on lime wash brick, it enhances the natural texture while providing a subtle, matte look that ages beautifully over time. This eco-friendly process also helps preserve the integrity of the brick by allowing moisture to evaporate, preventing damage from trapped water.
Lime wash vs Whitewash: Choosing the Right Finish
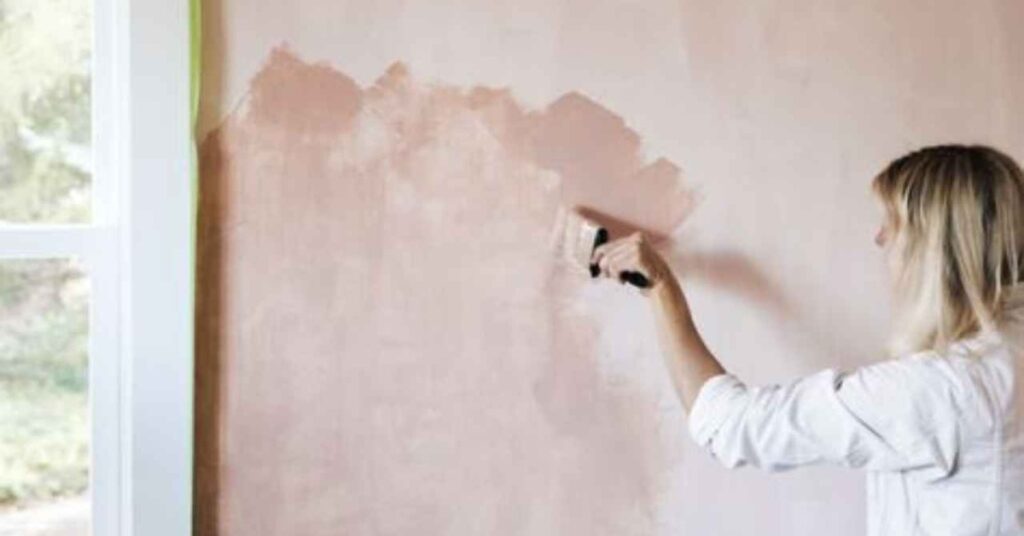
Limewash and whitewash both enhance brick homes, offering benefits for both interior and exterior painting tasks. Limewash provides a subtle, textured look that suits shabby-chic or coastal aesthetics, while whitewash delivers a timeless appeal, making furniture and accessories stand out with a bright, fresh feel. Both involve a thin layer of water-based paint, but their finishes differ.
For interior paint jobs, limewash gives a breathable, natural finish that complements various styles, while whitewash offers a cleaner, brighter look for brick surfaces. Limewash is great for subtle, rustic applications, and whitewash works best for a fresh, striking finish, both perfect for brick homes and different projects.
Distressing with Paint: A Vintage Vibe for Your Bricks
To distress bricks with paint, you apply it and then partially remove it, replicating the wear and tear that comes with age. This technique creates a charming, rustic effect, especially on interior feature walls, adding character and timeless appeal.
- Select a paint color that enhances the natural hues of the brick.
- Use a dry brush to apply the paint in gentle, sweeping strokes, ensuring the coverage remains light.
- While the paint is still damp, take a damp cloth and gently wipe off some paint, concentrating on the edges and raised areas to achieve a distressed, worn appearance.
Applying a German Smear: A Bolder Look
German Smear, also known as mortar wash, is a technique that applies a rough, textured finish to bricks, giving them an aged and weathered appearance. This process involves spreading a thin layer of wet mortar onto the bricks and then carefully removing part of it to reveal some of the brick surface underneath. The result is a rustic, timeworn look that enhances the charm of any brick wall.
How to Apply a German Smear
- Mix mortar with water until it reaches a thick, paste-like consistency similar to peanut butter.
- With a trowel, apply the mortar onto the bricks, working in small, manageable sections.
- Before the mortar sets, use a sponge or brush to remove some of it, revealing parts of the brick underneath.
- Let the mortar fully dry, leaving behind a rough, rustic texture on the surface.
What Is Brick Staining?
Staining is a popular method to upgrade your wall, making it more noticeable and prominent. Unlike painting, which is costly and time-consuming, staining is time-saving and rapid, offering a timeless beauty with environment-friendly materials.
This easy process is affordable, fits your budget, and preserves the natural beauty of bricks. Staining is a more advisable choice for a classic appearance and can be applied in nearly any weather, requiring less maintenance than painting.
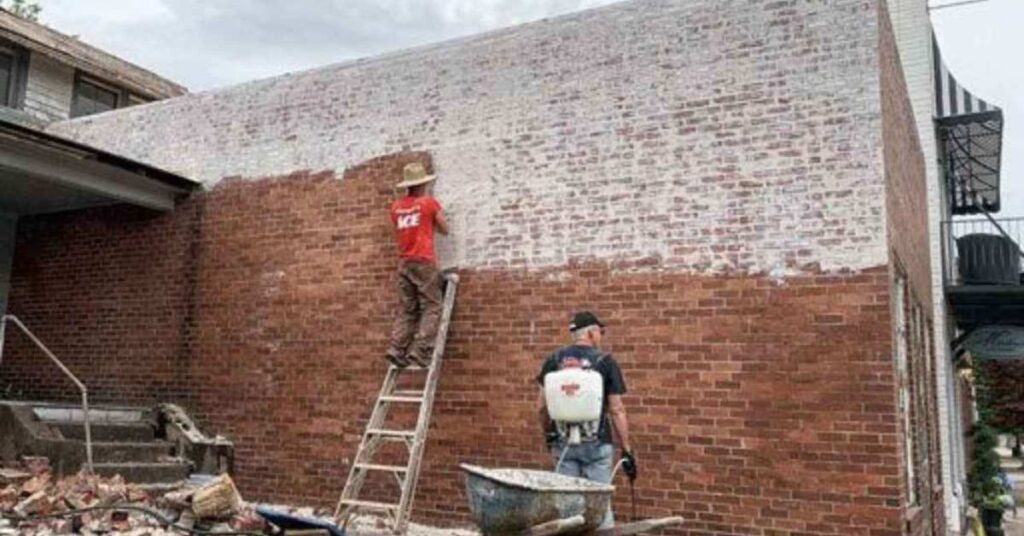
How to Stain Brick: Step-by-Step Guide
- Begin by cleaning the brick wall, which can be tricky due to its texture and porosity.
- Use a pressure washer to thoroughly clean the entire wall area.
- After cleaning, do a quick yet expeditious inspection to check for any damages that may need repair.
- If the surface is in good condition, mix your stain and spray it evenly across the wall.
Staining the Bricks vs Whitewashing: Which One to Choose?
whitewashing and Staining both offer ways to enhance brick surfaces, but the choice depends on the finish you desire. Staining penetrates the brick, preserving its natural texture and offering a timeless, noticeable look with environment-friendly materials, ideal for those seeking durability and minimal upkeep.
Whitewashing coats the surface with a soft, chalky finish ideal for rustic or coastal vibes. It’s adjustable, brightens spaces, and suits indoor or outdoor use.
Final Words: Which Brick Finish Is Best for You?
Choosing between staining and whitewashing comes down to your style, maintenance preference, and the look you want. If you prefer a natural, long-lasting finish with minimal upkeep, staining is the better fit. For a softer, textured, and easily adjustable aesthetic, whitewashing shines. Both finishes offer charm—select the one that aligns best with your home’s personality.