Wipe down leather seats gently using mild soap or a cleaner. Avoid scrubbing or harsh chemicals to prevent damage. Vacuum debris first, then apply conditioner. Keep moisture low and always test products in an inconspicuous area. A simple routine protects your leather and keeps it looking sharp without overdoing it.
Overview:
Leather seats give your vehicle a classy feel and finish, but without proper maintenance, they trap dirt, oils, and spills. Using the right products is key to clean leather car seats, preserving their quality, long-lasting appeal, and boosting interior resale value — like maintaining a luxury ranch more prized than cattle.
Using the wrong product or method for cleaning leather can cause cracking, discoloration, and wear on your car’s interior. It’s important to choose a DIY leather car seat cleaner that is specifically designed to remove grime and grit while adding conditioning properties to prevent damage. Always check the label to ensure the option you use is adept at keeping your leather cleaned and protected like royal thrones.
This guide walks you through exactly how to clean and maintain leather car seats the right way—with tools, steps, mistakes to avoid, and expert-backed product advice, including tips on making a safe homemade leather cleaner for cars.
What You’ll Need
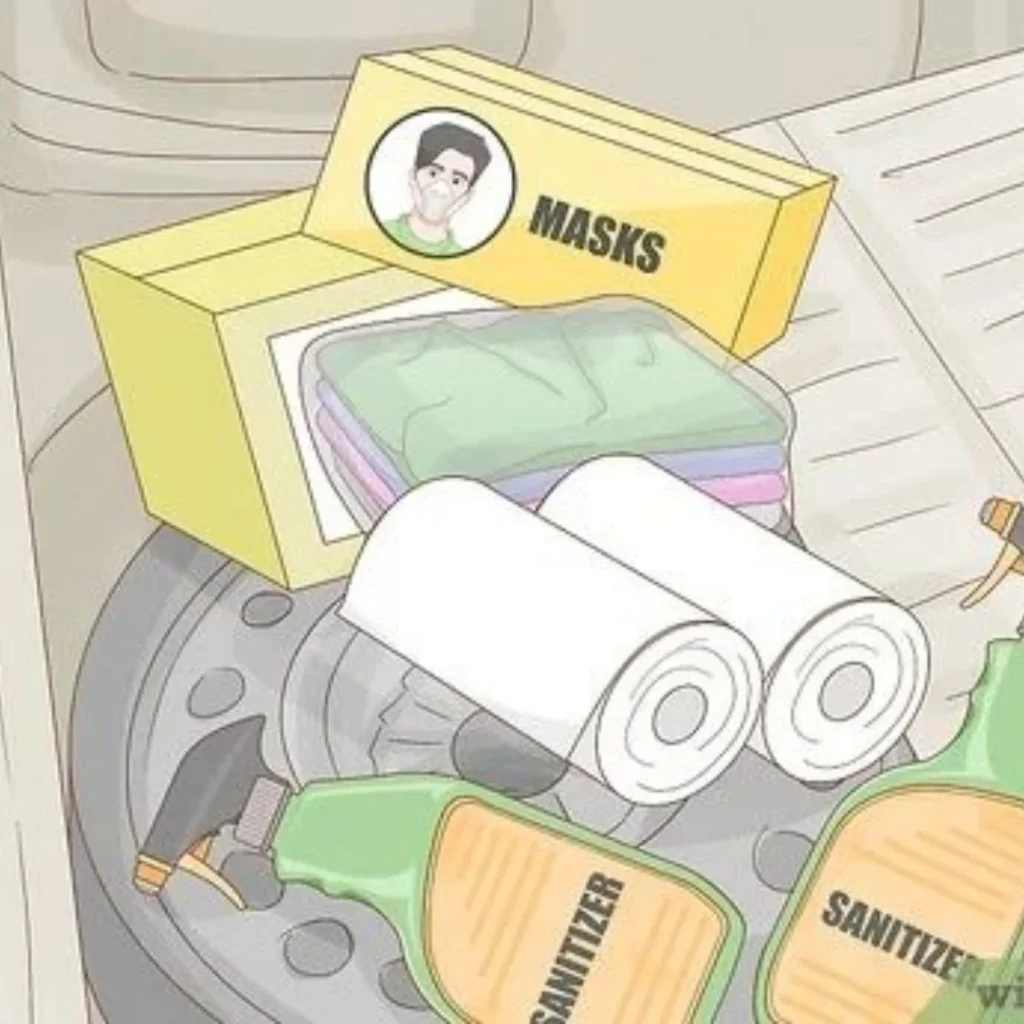
Keep your leather seats looking plush and sleek for years with the right tools and materials—no need for premium spend. Just grab products from a local auto shop or your favorite online retailer to clean and maintain your car with ease.
- Vacuum with soft brush attachment
- Microfiber towels
- Leather cleaner (DIY or commercial)
- Soft-bristled brush
- Leather conditioner
- Spray bottle (optional)
- Optional: seat covers for future protection
Top Recommendations
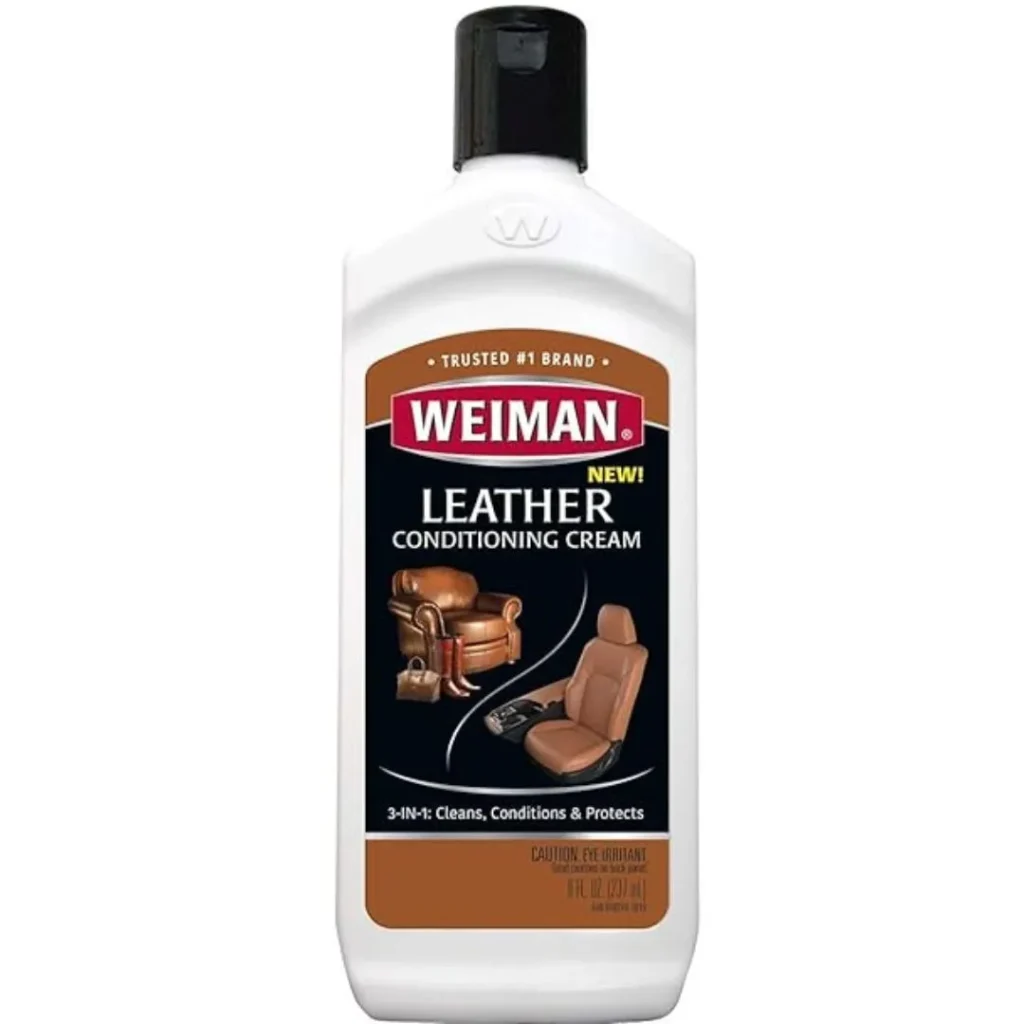
Weiman Leather Cleaner
Pros
- Cleans exceptionally well
- Leaves the surface soft with a subtle sheen
Cons
- Do the same paraphrase for this “Strong smell might be off-putting to some
A standout product combines strong performance with lasting results.
- Weiman Leather Cleaner ranked as Best Overall.
- It removed tough stains like crayon and lipstick quickly.
- Cleaned leather felt soft and refreshed in under a minute.
- No sticky residue was left behind—just a light shine.
- Has a noticeable scent, but delivers cleaning, conditioning, and protection.
- Test results confirmed its all-in-one effectiveness.
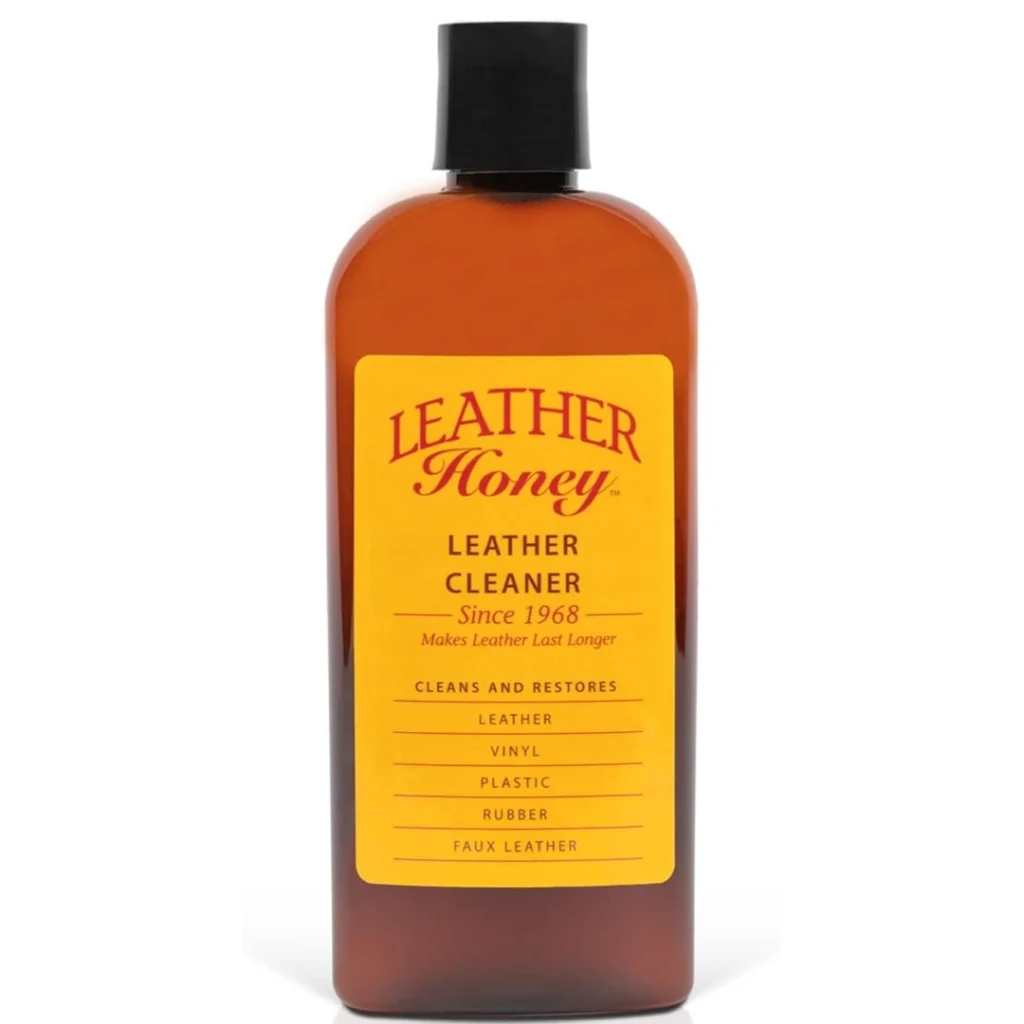
Leather Honey Leather Cleaner
Pros
- Felt amazing after just one cleaning, despite lacking conditioning effects
- Advantage: Removed light dirt effectively
Cons
- Struggled against deep stains
A well-known option with mixed results depending on the task.
- Leather Honey is highly rated on Amazon.
- Cleaning power was underwhelming on deep stains.
- Worked decently on crayon and lipstick marks.
- Major strength is how soft and supple it leaves leather.
- Best suited for light refreshes, not deep cleaning.
- Ideal for jackets, boots, purses, and leather furniture after a stronger clean.
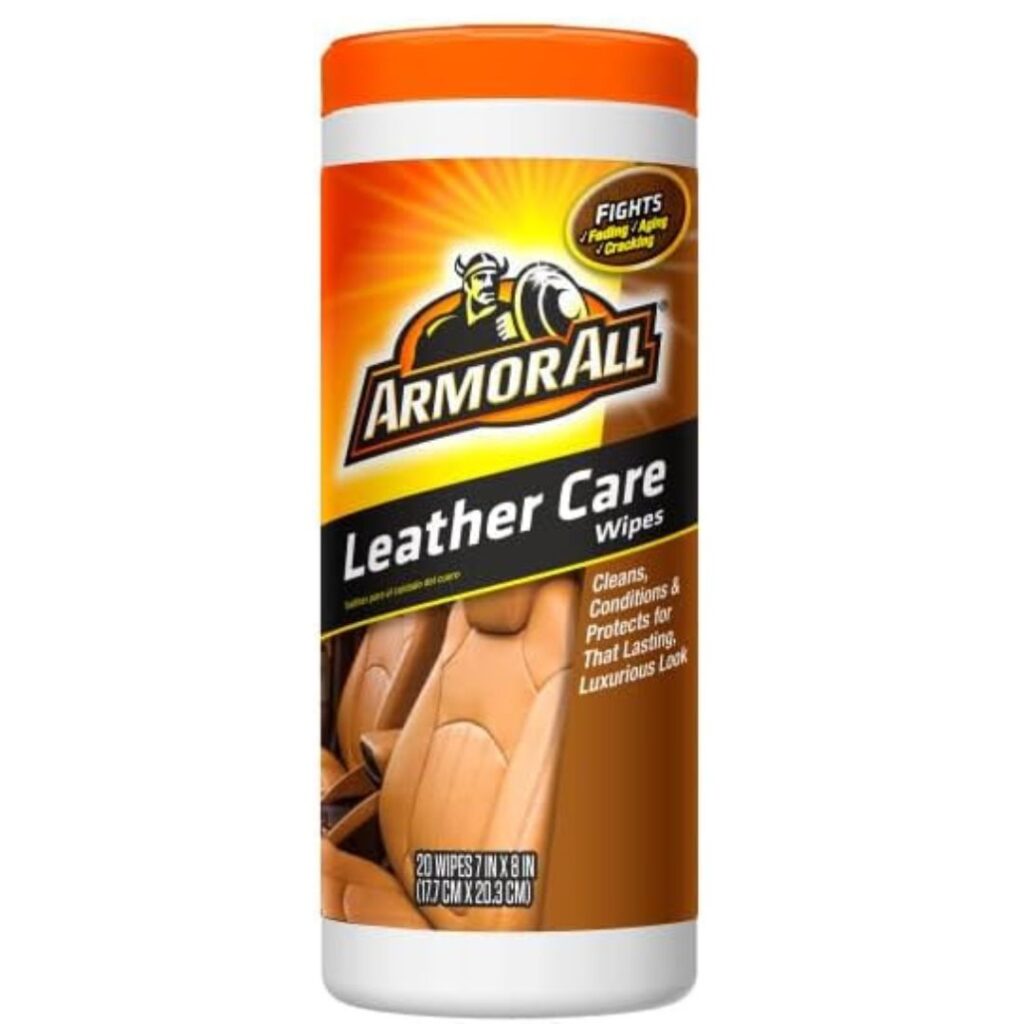
Armor All Interior Leather Care Wipes, Pack of 6
Pros
- Ultimate convenience — stash them in your glovebox and grab whenever needed
- Delivers dependable cleaning performance
Cons
- Leather felt slightly dried out, which could cause wear over time
- Appears to be available only in bundles or package deals
Quick and handy, but with a few trade-offs to keep in mind.
- Armor All Leather Care Wipes win for Most Convenient.
- Easy to store in the glovebox and use on the go.
- Cleaned stains effectively but left hands feeling sticky.
- Post-clean, seats felt dry despite conditioning claims.
- Could lead to cracking if not followed by a conditioner.
- Usually sold in multi-packs or as part of a larger cleaning set.
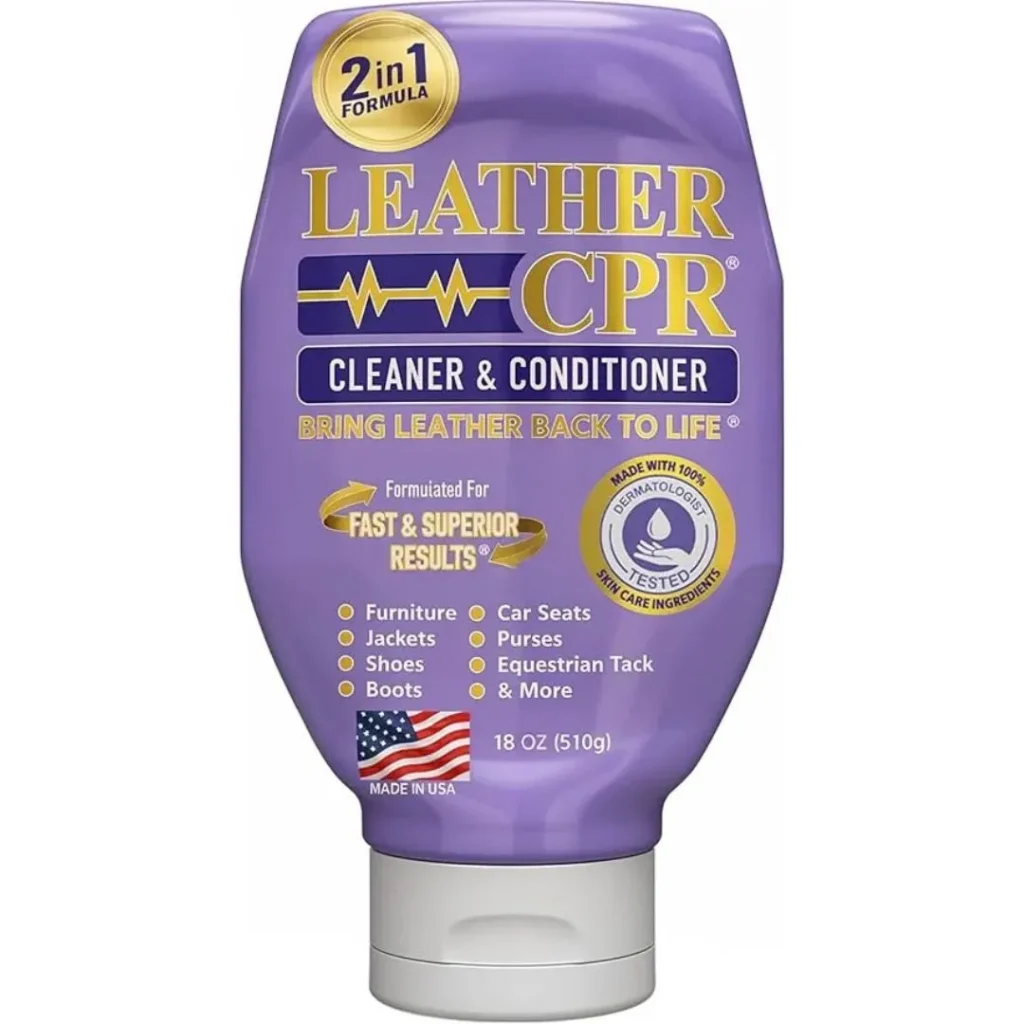
Leather CPR Cleaner and Conditioner
Pros
- Excellent texture and results — comparable to Leather Honey’s quality
Cons
- Had difficulty removing tough, set-in stains.
A solid all-in-one option for light cleaning and conditioning.
- Leather CPR combines both cleaner and conditioner.
- Left seats feeling soft and well-maintained.
- Performed great on lipstick and crayon, but not deep stains.
- Security seal was messy and hard to remove.
- Ideal for surface-level cleanups with added conditioning.
- One of the top performers in recent tests.
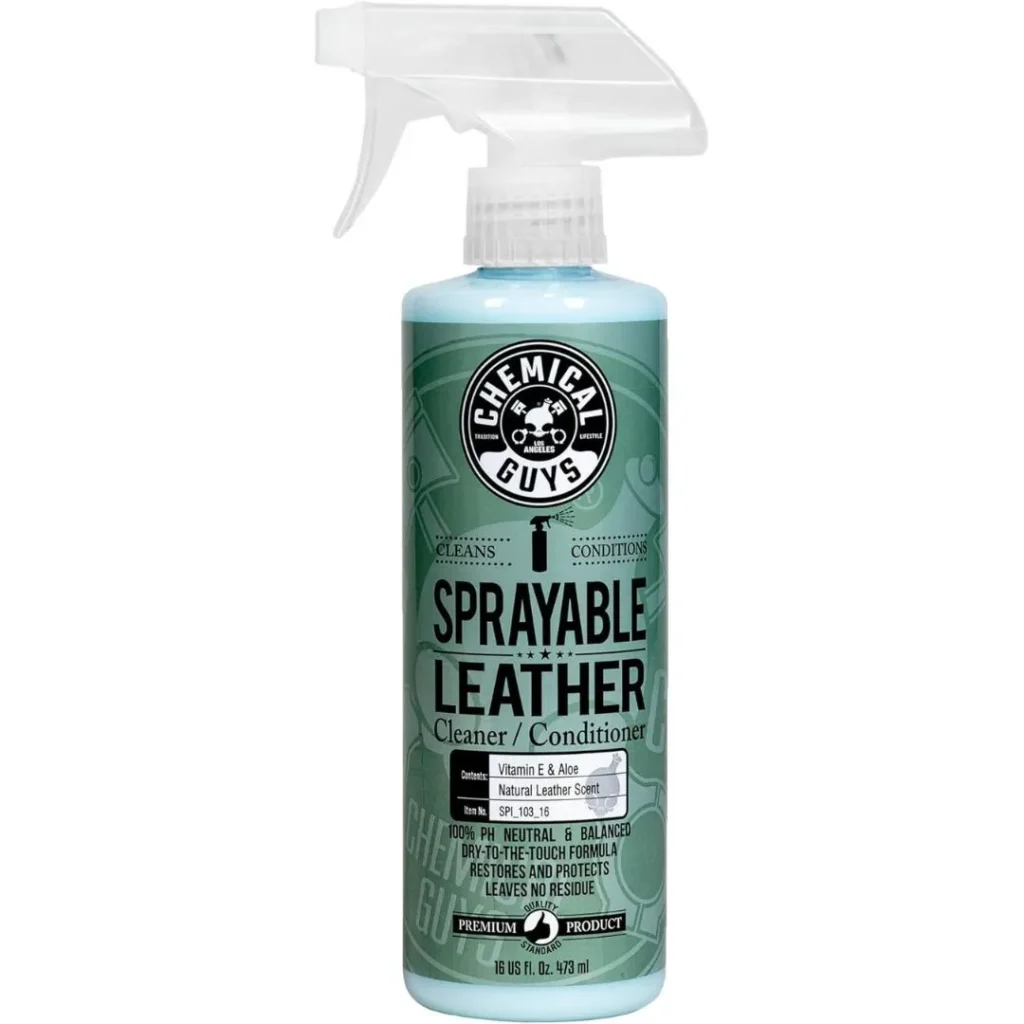
Chemical Guys Sprayable Leather Cleaner
Pros
- Cleans and conditions in one step.
Cons
- Not ideal if you prefer separate products.
A smart 2-in-1 solution designed for effective upkeep.
- Sprayable leather cleaner features a balanced pH formula.
- Cleans while preserving leather’s strength and look.
- Penetrates pores to lift out dirt and oils.
- Doubles as a conditioner—no extra product needed.
- Saves time while keeping leather durable and clean.
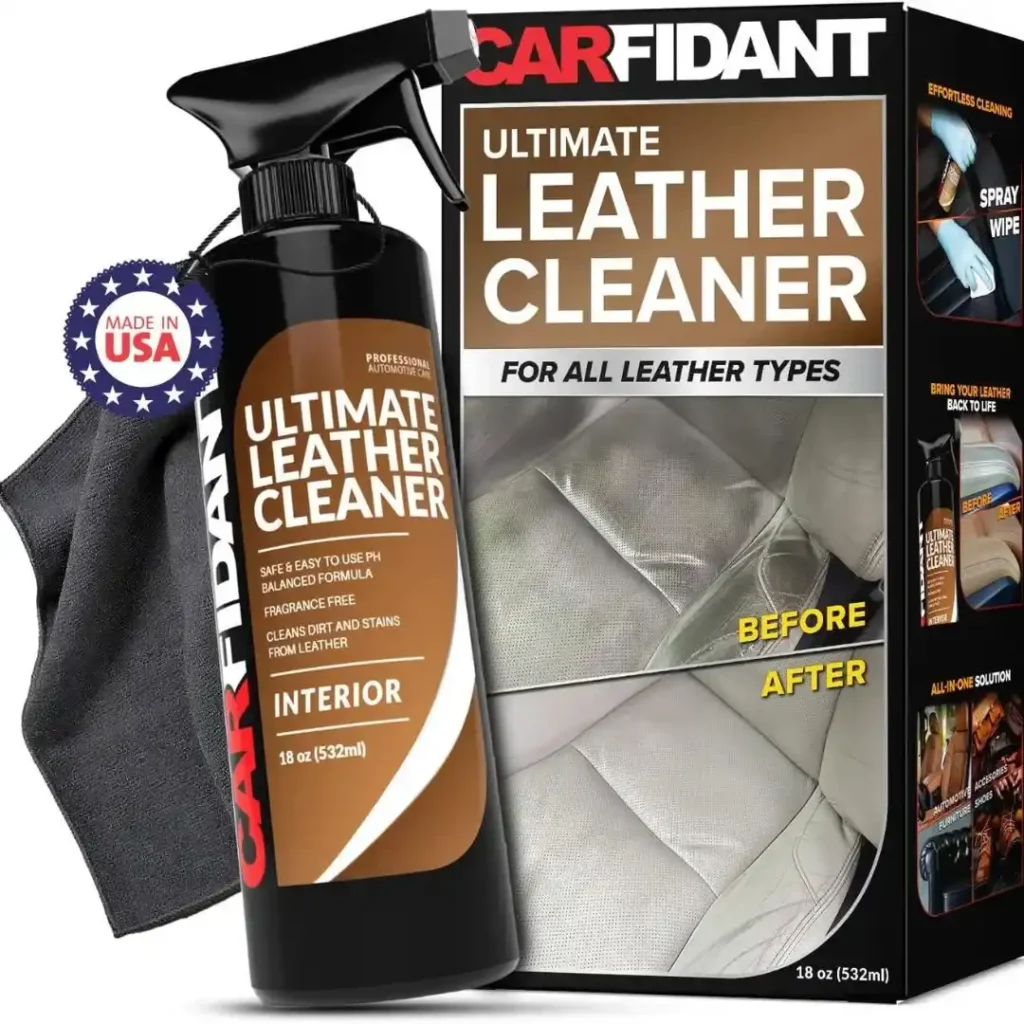
Carfidant Ultimate Leather Cleaner
Pros
- Dye-free and scentless—great for sensitive users.
Cons
- May feel too mild for tough cleaning jobs.
A gentler option for sensitive users or scent-free preference.
- Ultimate leather cleaner uses a mild chemical formula.
- Contains no color dyes or added fragrances.
- Leaves leather scent-free after cleaning.
- Great choice for allergy sufferers or those avoiding strong smells.
Step-by-Step Instructions
Don’t fear cleaning your leather seats, even if it’s your first time — just prepare for the royal treatment with a few simple steps.
Avoid scratches and dirt while attempting to clean your seats — it’s not as intimidating as it seems.
Step 1: Clear the Mess Before You Begin
Start your clean-up by removing any items from your car — this step makes the whole process more efficient and gives your leather seats room to breathe.
- Take out booster seats, especially if a child or pet regularly rides with you.
- Look behind and under for trash, leftover snacks, or any debris that might’ve been left installed for a while.
- Remove larger obstacles so you can easily tackle hidden grime and dirt.
- This approach helps you maintain that fresh feel and clean look of your vehicle’s interior.
- Don’t forget to wipe down removed gear too using your homemade leather cleaner for cars for a full-circle refresh.
Step 2: Vacuum Away Crumbs and Dirt
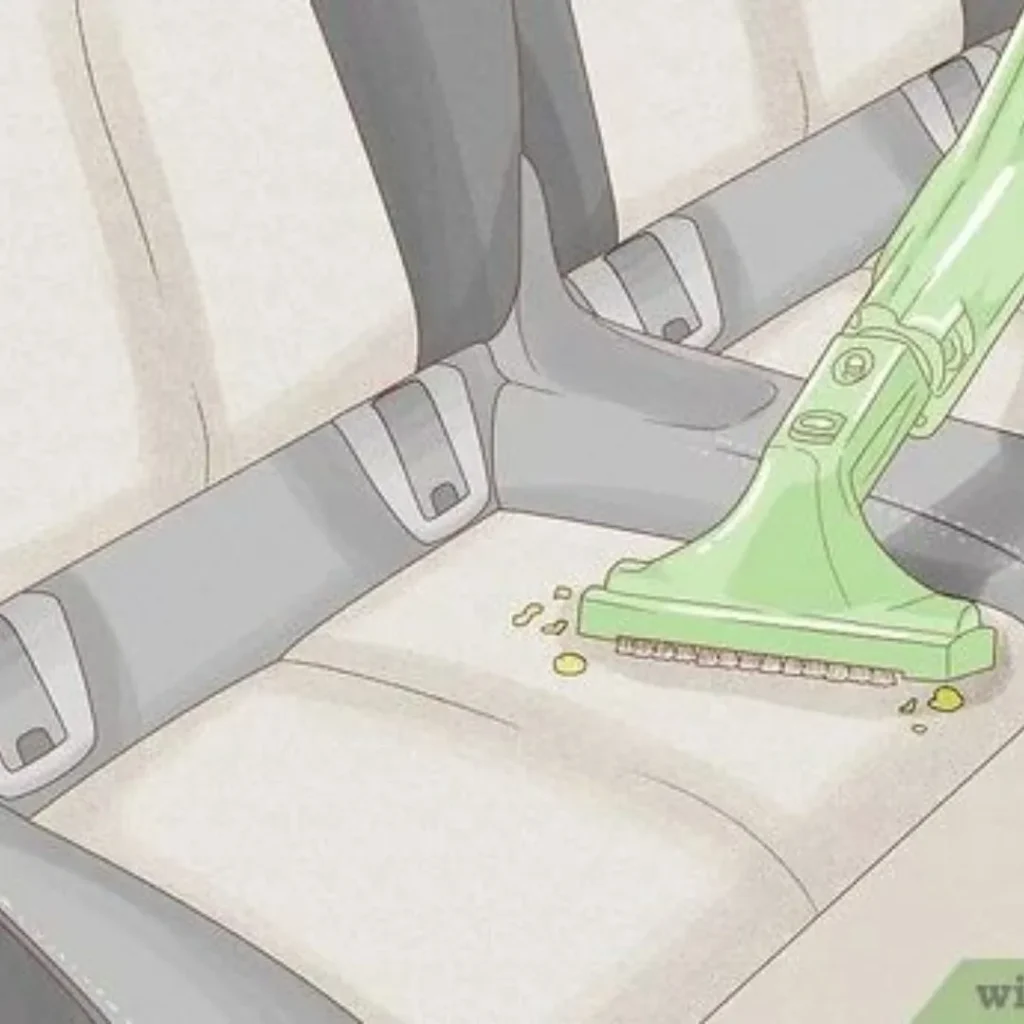
Vacuuming your leather seats and surrounding vehicle area is key to efficiently removing dirt and crumbs, especially when you want to clean perforated leather seats carefully without causing damage.
- Use a vacuum with a soft brush attachment to gently clean without scratching or gouging your seats.
- Focus on getting between all the little cracks and crevices where dirt and grime tend to hide.
- Be thorough in vacuuming to remove dust and crumbs that settle deep in perforated areas.
- For any dirt stuck tight in seams or holes, use a soft cloth to carefully lift it out without harming the leather.
- Regular vacuuming helps maintain the look and feel of your leather car seats over time.
Step 3: Test Your Cleaning Solution Before Use
Before applying any cleaning product to your leather seats, especially if it’s your first time, test it on a small, hidden spot to avoid stains or damage. This step is crucial if you plan to use a leather conditioner for car interiors after cleaning.
- Watch for reactions like fizzing or melting—if they occur, stop using the cleaner immediately.
- Check your vehicle’s owner’s manual for recommended cleaning products specific to your upholstery.
- For MB-Tex or delicate materials, choose a gentle cleaner over harsh leather solutions.
- Proper testing protects your seats and ensures the conditioner works effectively, keeping your interiors looking their best.
Step 4: Clean Off Additional Grime
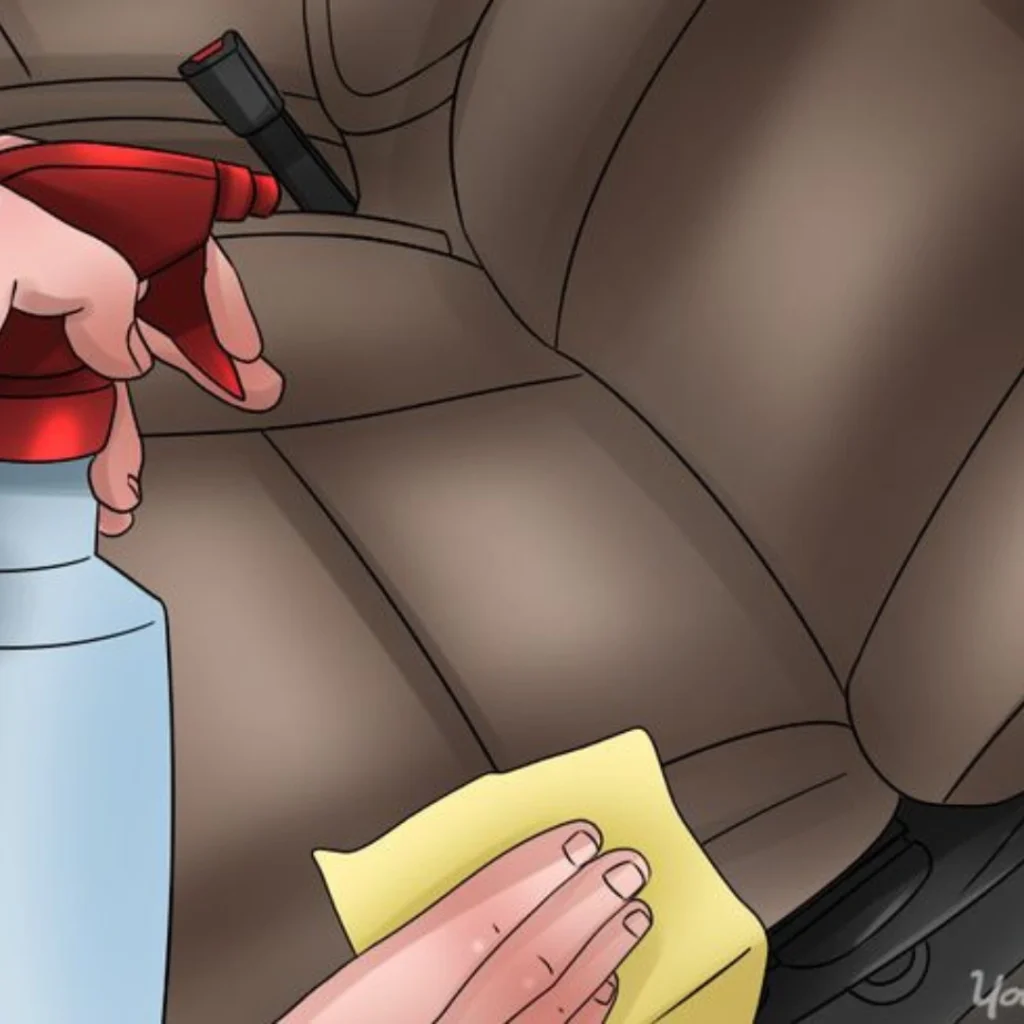
A car vacuum removes most loose dirt and debris from your leather seats, but some stubborn grime may linger. Use a microfiber towel sprayed with cleaner to wipe away sticky residues like spilled juice or snacks.
- This method helps clean off surface dirt and lingering sticky messes that vacuums can miss.
- The satisfaction of wiping away tough stains, including when you need to remove ink from leather car seats, is truly rewarding.
- After this surface cleaning, you’re well-prepared to proceed with a deeper, more thorough seat cleaning process.
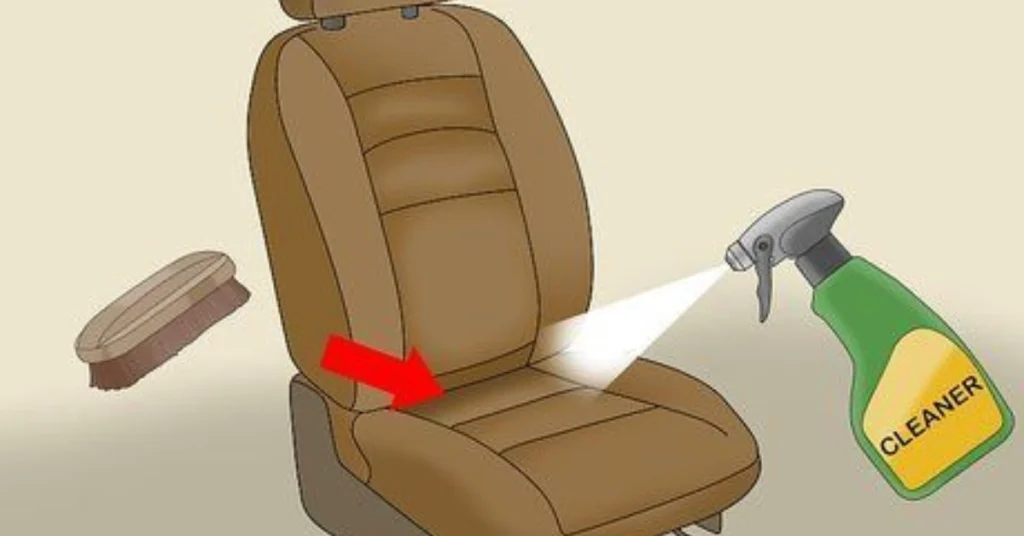
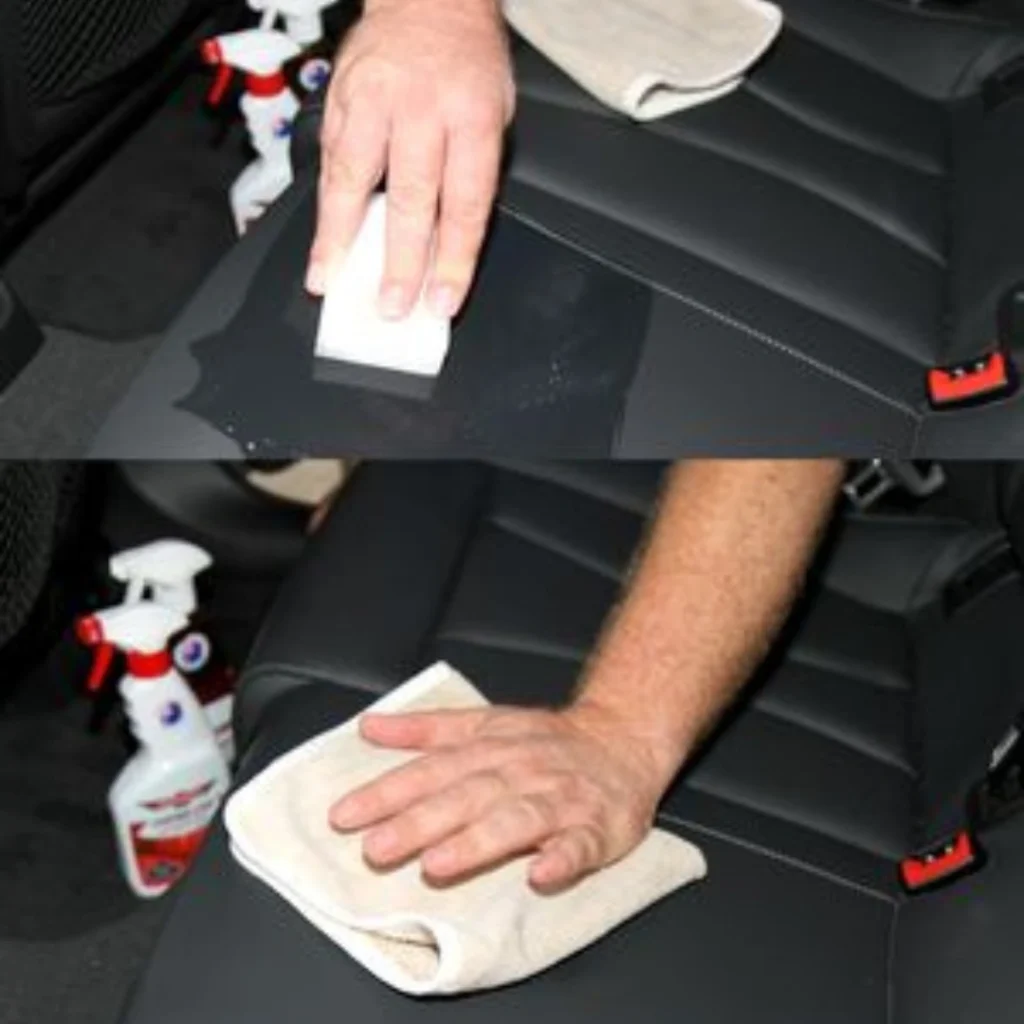
Step 5: Apply a Cleaning Solution
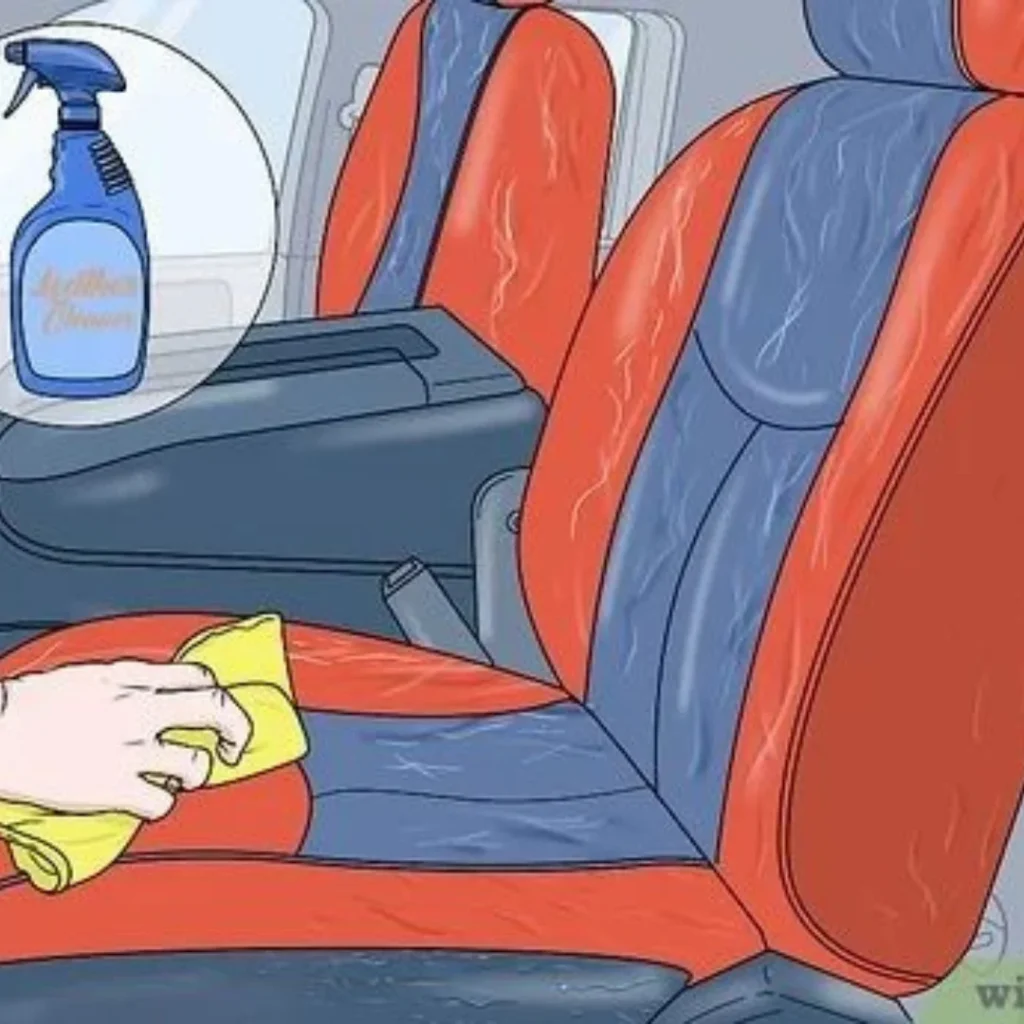
Start by testing the cleaner on a hidden seat spot to avoid discoloration. Use a soft-bristled brush to work up a gentle lather and clean without over-saturating.
- For seats with holes, scratches, tears, or perforations, consider applying cleaner to a microfiber towel first rather than directly spraying on the leather to protect sensitive areas.
- Use gentle pressure and move the brush in circular motions to safely remove grime without damaging the surface.
- After cleaning, apply a quality leather conditioner for car interiors to maintain softness and extend the life of your seats.
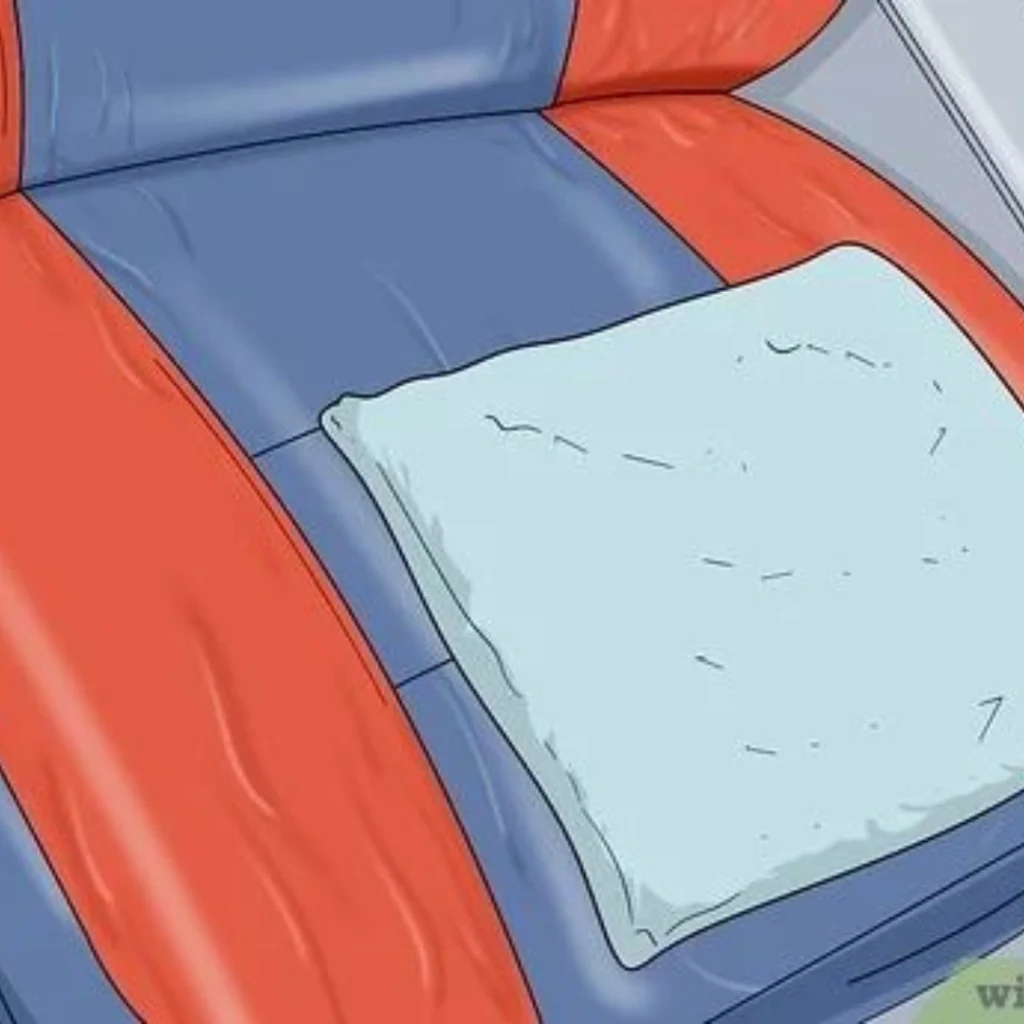
Step 6: Final Wipe with a Damp Towel
Use a damp towel to gently wipe the seats and remove any excess cleaning product. This helps lift leftover dirt and grime stuck after deep cleaning.
It also prevents crumbs from falling to the floor of your vehicle. Having floor mats makes cleanup a breeze when mess collects.

Step 7: Dry the Seats Properly
After cleaning, it’s key to dry the seats properly to avoid long-term damage.
- Use a microfiber towel to gently wipe the surface of each seat.
- This removes excess moisture that can lead to mold or mildew buildup.
- Always dry the seats completely to prevent wrinkling and cracking.
Step 8: Apply a Leather Conditioner
After cleaning your leather seats, it’s smart to apply a conditioner to improve their longevity and prevent cracks, tears, or stains. If it’s your first time, always test on an inconspicuous spot before applying it across the seat.
Use circular motions while working the product into the seat, then let it sit and air dry for at least one hour. Most manufacturers give a recommendation of once every three months, but adjust your routine based on attention, usage, or past sources of wear during your adventure.
Common Mistakes to Avoid
When cleaning, avoid harsh chemicals or alcohol-based cleaners, as they can damage the surface. Always stick to a gentle car leather cleaner and conditioner kit for safe results.
Don’t soak the seat or use too much water—leather doesn’t like excess moisture. Also, scrubbing aggressively, especially on perforated leather, can make things worse.
Skipping conditioner is a common mistake that causes drying. Over time, you may need to repair cracked leather car seats just because conditioner was ignored.
Tips for Better Results
How to Use Leather Cleaning Products
Using store-bought leather cleaning products is easy if you follow the right steps. Always review the explanatory instructions before using anything on your seats.
Start by vacuuming the surface to lift loose dirt and stains. Then, gently apply the cleaner to avoid damaging the leather.
Use a soft cloth and specific motion when applying the solution. Follow directions to ensure it’s done correctly and evenly.
After removing debris, add a leather conditioner to maintain texture and reduce staining or future damage.
If you’re unsure or want to avoid the risk, a professional detailing service is a smart move. It brings peace of mind and quality results.
Detailers often have access to premium tools, solutions, and proven techniques that deliver the best, long-lasting shining finish.
With their help, you’ll face fewer chances of costly mistakes, especially when caring for vehicle interiors or trying to clean deep-set grime.
How to Choose Leather Cleaning Products
When choosing a leather cleaner, it’s key to evaluate the condition of your seat beforehand—look for signs of wear, damage, or faded finishes that can affect cleaning effectiveness.
- Pick a product in spray form that’s easy to apply and wipe, avoiding anything with harsh chemicals that could cause a stain or further damage.
- Make sure it’s compatible with colors, textures, and both new and old leather.
- Always check the ingredients list—go for natural, nontoxic formulas free from fragrance, petroleum, or heavy waxes that may leave buildup or lead to dulling of plush material.
- A well-designed conditioner helps maintain softness without the sticky feel.
DIY Leather Cleaners
Vinegar
Vinegar offers antibacterial benefits and won’t harm or damage your leather seats. Just spray it onto the area you want to clean, then carefully wipe it off with a dry cloth.
Baking Soda
Baking soda is great for cleaning leather seats — it lifts dirt and dampness without damage. Always apply a leather conditioner afterward to restore softness and prevent drying.
Rubbing alcohol
To clean a leather seat with stubborn stains, gently blotting the area using cotton or a soft cloth dipped in alcohol helps lift the marks without damaging the surface. After that, apply a mild soap solution made with warm water to rinse the area and remove any leftover residue.

Quick Car Seat Cleaning Tips
- Use a leather-friendly wipe on the seats every week to remove surface dirt and oils.
- Deep clean the leather seats thoroughly every three months to maintain their condition.
- Apply a protective treatment regularly to shield the leather from stains and spills.
- Clean the steering wheel weekly using a leather wipe to keep it smooth and spotless.
- Utilize a specialized leather cleaning brush to simplify the cleaning process and reach crevices.
How Often to Use Leather Conditioner
Using leather conditioner sparingly is important because too much can make the surface sticky or tacky. Conditioner should be applied periodically, typically once every three months. If leather seats experience heavy wear and tear from children, pets, or sunshine, conditioning may be needed more often to maintain softness and protection.
How to Keep Leather Clean Longer
Using a leather conditioner with sunscreen or other sun protection helps fortify vehicle seats against harmful UV rays and slows material discoloration. Having microfiber towels readily available allows spills to be cleaned up immediately, preventing stains, grime, and dirt buildup.
Regularly vacuuming with a soft brush attachment helps get ahead of dirt before it starts building up, reducing the need for a deep clean. This consistent care keeps upholstery fresh and protects seats from damage continuously in the vehicle.
Consider Using Seat Covers
Using seat covers is a good idea to protect leather seats from additional wear and tear, especially if the vehicle often has passengers or animals. Whether hauling stuff in the back seats or just wanting to keep seats fresh, there are plenty of designs and materials to choose from. From a sleek black design to fun cartoon-esque flames, options are available to fit any style while helping the seats work longer and stay protected.
Consistently installing covers can save time and effort on cleaning and prevent damage, making it easier to find peace of mind with a simple solution that blends function and style.
FAQs
How can I tell if my leather seats are dirty?
- Leather seats often hide dirt well over time.
- They may not appear dirty right away.
- Lack of visible dirt doesn’t mean cleaning isn’t needed.
- Regular cleaning every few months keeps them in top shape.
- A little effort helps maintain their quality.
What is leather conditioning?
Taking care of leather properly involves more than just cleaning.
- Conditioning leather is a key part of maintenance.
- Sometimes it comes combined with leather cleaner.
- Other times, it needs to be purchased on its own.
- Conditioner nourishes the leather deeply.
- It helps stop dryness and cracking.
- Investing in conditioner is definitely worthwhile.
What common household products can be used to clean car leather?
Using the right products is crucial for leather care.
- Avoid using household items on car leather unless you have a proper cleaner.
- Common DIY suggestions like vinegar, lemon juice, or toothpaste can harm leather.
- These substances may cause lasting damage.
- Investing in a quality leather cleaner is the safest choice.
- It helps protect seats, trim, and your vehicle’s resale value.